For over a decade, Netguru has been a leader in iOS app development services, delivering top-tier solutions for iPhones, iPads, and beyond. Harnessing a blend of robust UX/UI design and industry expertise, our iOS developers ensure every application is secure, scalable, and future-forward.
Empowering Your Business with iOS Application Development
Our team of skilled iOS app developers specializes in creating exceptional products for a wide range of iOS devices, including the latest iPhones, iPads, and Apple Watches.
iOS UI/UX Design
iOS apps are renowned for their captivating and immersive designs. We seamlessly integrate your brand with the Apple ecosystem, delivering exactly what your users desire. Our team of expert iOS app designers excels at crafting enduring experiences that leave a lasting impact.
Custom iOS App Development
Our team of skilled iPhone app developers excel at creating scalable and innovative iOS solutions. We have a strong focus on delivering tailor-made iOS software to both aspiring entrepreneurs and established enterprises in various industries worldwide.
iOS Software Testing
At the heart of our iPhone mobile development process lies a strong focus on security and performance. With a combination of manual and automated testing, we guarantee a flawless and impenetrable application for you.
Industry-specific iOS App Development
iOS Development Services for Clients From All Industries
Netguru is a trusted partner for businesses in diverse industries and niches. Our expert team will guide you in selecting the perfect technology stack, designing a seamless UX, and seamlessly integrating the app into your existing infrastructure. With our cutting-edge mobile platform, we ensure that the iOS app development process is not only faster but also cost-effective.
Netguru's iOS app development services have been instrumental in transforming sectors such as:
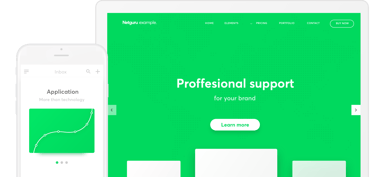
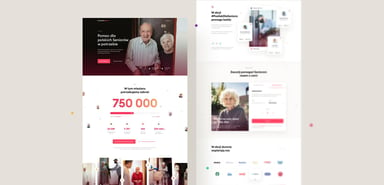
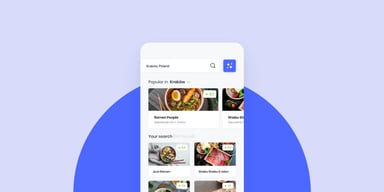
Explore a selection of companies that have benefitted from our top-notch services. With each client, we have successfully developed exceptional mobile applications that precisely cater to their specific needs.
Working with the Netguru Team was an amazing experience. They have been very responsive and flexible. We definitely increased the pace of development. We’re now releasing many more features than we used to before we started the co-operation with Netguru.
Take advantage of our proven iOS app development process and make your project a success
iOS app development is a continuous journey, driven by the need to consistently enhance your product. As Apple devices evolve and technologies advance, user preferences, needs, and behaviors also shift. Partnering with us ensures you're equipped with industry-leading tools and proven methodologies tailored for iOS, ensuring your app remains optimized.
How we work?
Conducting Product Discovery and Product Research
Creating UX Design, UI Design and Branding
Coding the app courtesy of our veteran engineers
Testing the app and making sure that everything works well
Co-managing the app with your business team
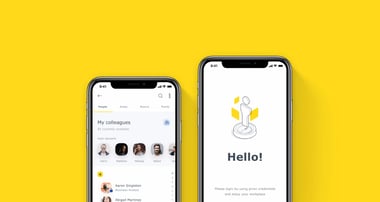
Full-service iOS App Development Services
With our expertise as a full-stack iPhone App Development company, we have successfully launched numerous native iOS apps that achieved remarkable success rates and became chart-toppers on the App Store. Our team consists of highly skilled and experienced iPhone mobile app developers who specialize in Objective-C and Swift, the primary tech stack for developing cutting-edge iOS solutions.
App Development Services from Netguru
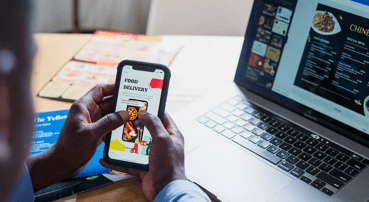
As a leading iOS mobile app development company, our dedicated team of skilled iPhone app developers specializes in creating custom applications for a range of Apple platforms, including iPad, iPhone, Apple TV, and Apple Watch. We strictly adhere to design guidelines and the latest iOS application development standards to ensure high-quality solutions. With our expertise, we have successfully built and launched numerous iOS apps that have garnered remarkable success rates and reached the top of the App Store charts. Our experienced iOS app developers have created apps for various industries, catering to diverse use cases such as real-time analytics, route matching, geo-tagging, video streaming, and more.
What technology stacks do you use for iOS app development?
We build iOS apps using a range of technology stacks. Which one we use will depend on your project specifications.
Objective-C is a long-standing, highly trusted programming language that uses dynamic typing and message passing. It also requires dividing classes into two code blocks: interface and implementation.
Swift is a relatively new programming language, which Apple released to the public in 2014. In 2015, Swift became open-source. It abandons the Objective-C heritage and has all the modern programming features: generics, optionals, type inference, and higher-order functions.
There are other technology stacks, such as React Native or Flutter, which suit cross-platform development and can offer a quicker time to market.
Crack the mobile market with expert iOS app developers
Our team of 60+ UI/UX designers, full-stack developers, quality assurance and business analysts, create custom mobile app solutions for the iOS and Android mobile platforms, combining technical and business acumen to deliver excellent products.
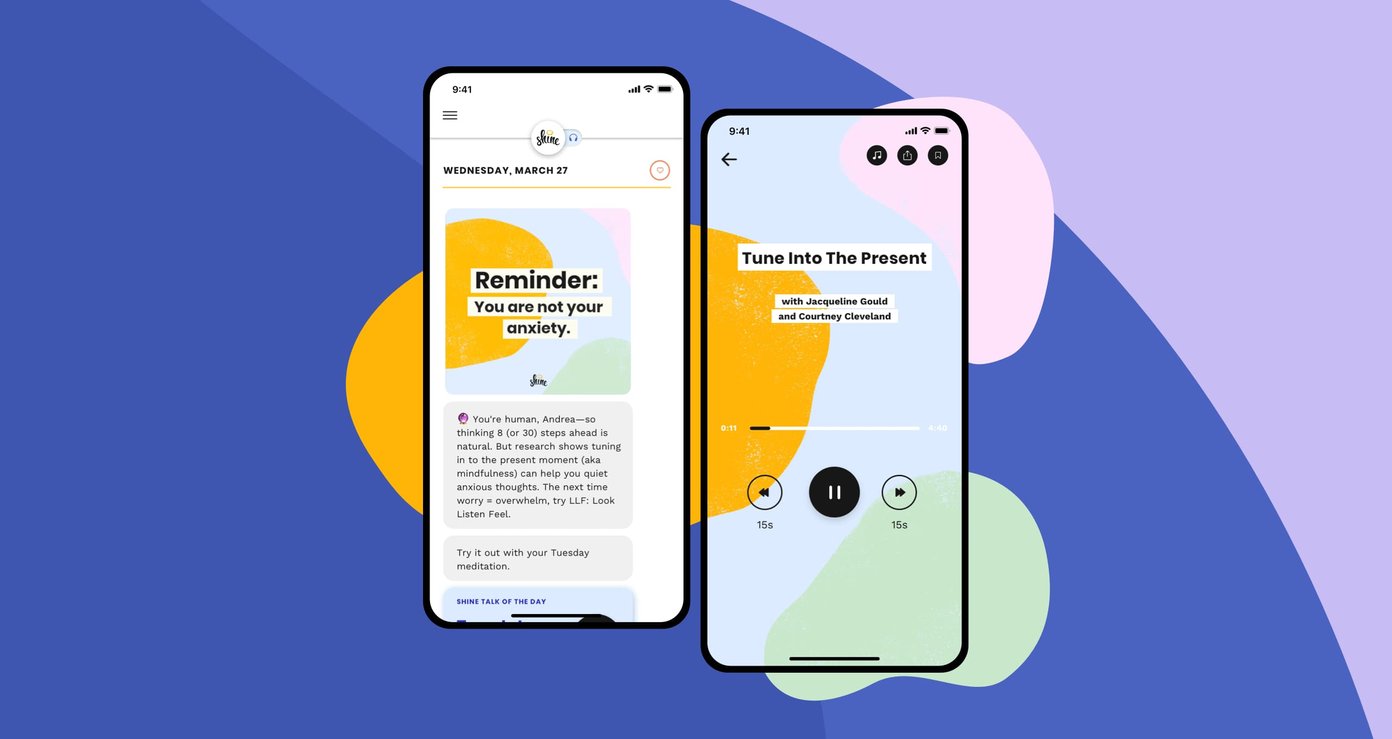
A personal robot brought to life with mobile app development
Meet Temi: a personal assistance robot built with advanced AI technology featured at TED
AI has the potential to bring many benefits to our daily lives, helping out with major tasks and taking care of the little things.
Temi is a personal assistant robot built with advanced AI. Combining sight, touch and sound, Temi’s goal is to make people’s daily lives better. From facial and objection recognition to voice ID and emotional detection, Temi offers a state-of-the-art experience that helps you stay connected with loved ones and take care of errands.
Netguru was involved with Temi’s native app development on three platforms – the robot’s operating system and iOS and Android apps to bring Temi to a wider audience, culminating in an appearance on-stage at TED.
I've really appreciated the flexibility and breadth of experience we've been able to tap from the Netguru team. While most of our work together has been in React Native, at times when needed we've also gotten support in QA, design, UX, iOS and Android as well.
About three years ago we decided that we want to be a technology-independent company. Netguru has been the best agency we've worked with so far. The team is able to design new skills, features, and interactions within our model, with a great focus on speed to market.
Working with the Netguru Team was an amazing experience. They have been very responsive and flexible. We definitely increased the pace of development. We’re now releasing many more features than we used to before we started the co-operation with Netguru.
Start your project with us or take existing one to next level
The most popular queries about iOS app development
What is iOS app development?
iOS App Development is the process of designing, developing, and deploying applications specifically for Apple's hardware, including iPhones, iPads, and Apple Watches. These apps are built using specific languages and frameworks supported by Apple's ecosystem.
Why is it worth developing a iOS app?
There are many benefits to iOS mobile app development. The tech-savvy audience that Apple’s brand brings spends more money on apps than users of other app stores do, meaning you can achieve a high ROI on your development expenses.
How much does it cost to develop an iOS mobile app?
The cost of making an iOS app varies based on the complexity, features, and design specifications of the project. We offer competitive pricing and can provide a detailed estimate after understanding your requirements.
How much time does it take to build an iOS mobile application?
The timeline to build an iOS app depends on its complexity, features, and integrations. A basic app might take a few weeks, while a feature-rich, complex app can take several months. We'll give a clearer timeline after discussing your project specifics.
Will you help me publish my ios app?
Absolutely! We provide end-to-end support, which includes assisting you in submitting and publishing your app on the Apple App Store.
Do I own the ownership and the code of my application?
Yes, you retain full ownership and rights to the code and application we develop for you. We ensure complete transparency and handover once the project is completed.
What technologies do you use in ios app development?
We utilize a range of technologies for iOS app development, including Swift, Objective-C, Xamarin, and React Native, among others. Our choice of technology is always aligned with the project's requirements and best industry practices.


.png?width=384&height=202&name=Chorus%20Case%20study%20on%20Landing%20Page%20(1).png)


 I've really appreciated the flexibility and breadth of experience we've been able to tap from the Netguru team. While most of our work together has been in React Native, at times when needed we've also gotten support in QA, design, UX, iOS and Android as well.
 About three years ago we decided that we want to be a technology-independent company. Netguru has been the best agency we've worked with so far. The team is able to design new skills, features, and interactions within our model, with a great focus on speed to market.
 Working with the Netguru Team was an amazing experience. They have been very responsive and flexible. We definitely increased the pace of development. We’re now releasing many more features than we used to before we started the co-operation with Netguru.