Using New React Hooks API in React Native

Hold on, what exactly are “Hooks”?
Instead of coming up with my explanation, I’ll just point you to great resources that should get you up and running with Hooks in no time:
- Official docs
- Great video introduction by Sophie Alpert, Dan Abramov, and Ryan Florence.
- Medium post by Dan Abramov
First off: how do I even enable Hooks in React Native?
As of now (2019-01-10), there are some manual steps required to use Hooks in React Native, here’s what you need to do:
Note: React Native 0.57.5 or higher is required for Hooks to work.
- Install latest react alpha in your project:
yarn add react@next git clone https://github.com/facebook/react- Open
react/packages/shareddirectory with your favourite editor and replace all instances ofenableHooks = falsewithenableHooks = true cd reactyarnyarn build -- --type=RN_OSS- This command runs a build script defined inpackage.json. We select the typeRN_OSS, as Facebook defines different build types for their internal React and React Native versions.- Copy contents of
build/services/mobile-development/react-native-development/tonode_modules/services/mobile-development/react-native-development/Libraries/Rendererin your project
And that’s it! You should be able to use Hooks now.
Let’s test it
React:
v16.7.0-alpha.2React Native:
v0.57.8
react-native init SecretSanta- Enable Hooks by following steps above
cd SecretSantareact-native run-ios- Edit
src/App.js:
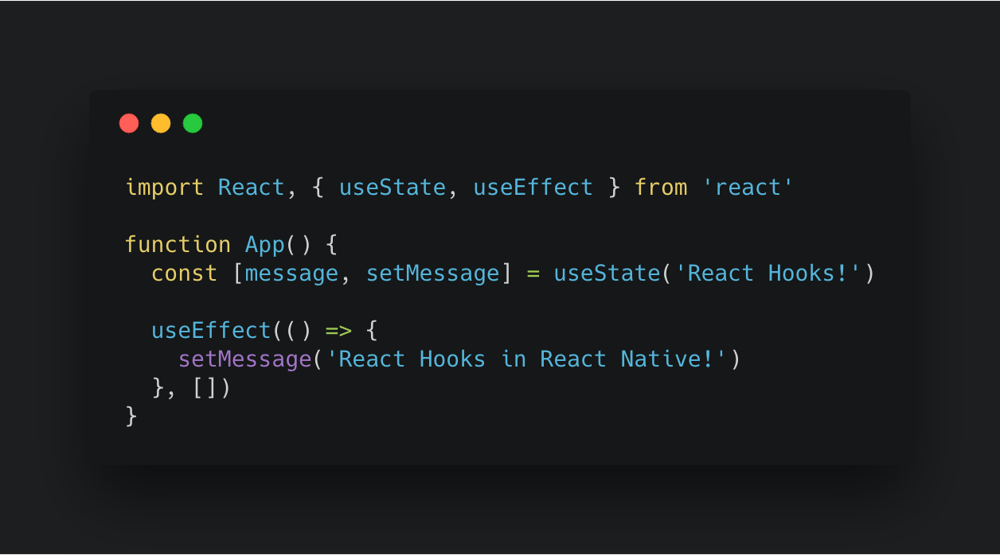
import React, { useState, useEffect } from 'react'

// ...

export default function App() {
  const [message, setMessage] = useState('Hello from initial state!')

  useEffect(() => {
    const timeoutId = setTimeout(() => {
      setMessage('Hello from updated state!')
    }, 2000)

    return () => clearTimeout(timeoutId)
  }, [])

  return (
    <View style={styles.container}>
      <Text>{message}</Text>
    </View>
  )
}
Let’s see how our app looks now:

It works!
Let’s go through the code we’ve written:
To start off, we use useState() imported from react library to initialise our Hook. Passing an argument allows us to set the default state. To use the current state - and to be able to update it - we assign values returned by the function. If you’re not familiar with the array destructuring syntax, here’s how it could be written in plain ES5:
const state = useState('Hello from initial state!')
const message = state[0]
const setMessage = state[1]
Why doesn’t it return an object, you may ask?
Well, this would make the return assignment harder to use:
Note: the code provided in this section doesn’t work! This is just an example of a theoretical incorrect Hooks API design.
This looks fine, but what if we want to declare and use another Hook in the same component?
const { currentState as secondState, setState as setSecondState } = useState('Oh whoops, this syntax looks kind of verbose!')Returning an array makes the syntax much more concise and more comfortable to write.
For more questions about React Hooks design, I highly recommend Dan Abramov’s article.
Okay, let’s look at the useEffect() usage:
useEffect(() => {
  const timeoutId = setTimeout(() => {
    setMessage('Hello from updated state!')
  }, 2000)

  return () => clearTimeout(timeoutId)
}, [])
There is some API knowledge required to understand what’s written here. Let me quickly explain what’s happening. I won’t repeat what’s already explained in the docs, go ahead and read up on how useEffect works there.
We want our screen to show the initial message and change it after 2 seconds, so we setTimeout() the message update declaration. We don’t want our component to leak, so by providing a function via return, we tell React to clear the timeout when component unmounts. And finally, we tell the effect which variables should it watch to update itself. By passing [], the effect will only run on mount, mimicking the componentDidMount() method used in class components.
The rest of the code should be clear to you. If that isn’t the case, either you’re totally lost or ran out of coffee!
Examples don’t serve the purpose
Sure, the example above looks great, but it’s not very useful in showing practical Hooks usage. I created a simple app that is 100% made using functional components and uses only native React API to handle app state. The app is called Secret Santa, it helps you with exchanging gifts between your friends by drawing a designated receiver for each person, without revealing this information to anyone. And yes, I’m a few weeks late with this idea. Oh well.
Secret Santa!
Here’s how our React Native application works:

As you can see, user types in a list of people, and hands over the phone to each of those people, letting them select themselves from a list, to receive a designated gift receiver.
In our project we make use of useState(), useEffect(), useReducer(), and useContext(). Let’s go through each of those.
useState()
The editable list that lets the user type in a list of friends, consists of EditableListItem’s. They essentially have two states:
- inactive: a simple
Textcomponent is used to display the provided value - focused:
TextInputis shown, with either placeholder or the value inserted by the user
This is a perfect place to use the new API! Let’s see:
Tip: you can always see the full source code by clicking on a link below the code snippet!
// ...
export default function EditableListItem({ autoFocus, onChange, onSubmit, value }) {
// ...
const [isFocused, setFocus] = useState(false) // 1

// 2
const setFocusInput = () => setFocus(true)
const setUnfocusInput = () => setFocus(false)
// ...
const renderText = () => (
  <TouchableWithoutFeedback onPress={setFocusInput}> {/* 3 */}
    <Text emphasized style={styles.text}>
      {value}
    </Text>
  </TouchableWithoutFeedback>
)

const renderInput = () => (
  <TextInput
    placeholder="Type a name..."
    ref={(ref) => {
      inputRef = ref
    }}
    onLayout={focusInput}
    style={styles.text}
    value={value}
    onChangeText={onChange}
    {/* 4 */}
    onEndEditing={setUnfocusInput}
    onSubmitEditing={onSubmit}
    returnKeyType="next"
  />
)And here’s how it works:
Let’s go through the useState() usage. We:
- initialise the state with the initial value of
false. - create simple functions to set our state.
- update the focus state on press.
- update the state when the input is unfocused.
As you can see, this syntax is much more concise than creating a class component and handling state there.
useEffect()
We used this function already in our example, but let’s see how this function is used in the component we know got to know recently (EditableListItem.component.js):
This code is trivial once you familiarise yourself with Hooks API, but two things could go wrong when writing it.
But first, what do we want to achieve here? Well, we want our component to have an option to autofocus once it’s rendered. That’s how we would write it in a class component:
// ...
componentDidMount() {
  const { autoFocus } = this.props
  if (autoFocus) {
    this.setFocusInput()
    this.focusInput()
  }
}
// ...
Let’s see:

If you’re nitpicky, you may ask: Hey, we should first check if autoFocus is true, and then run useEffect(), it would make more sense structure-wise. Thanks for pointing that out. We intentionally don’t do this, because by design, useEffect() cannot be called conditionally (great explanation by Dan Abramov).
useReducer()
This is an interesting function. It acts like useState(), so it returns an array with current state and a function to update it. The difference is, the second function is actually a dispatcher! You may know this functionality from Redux. Instead of just setting a value, it passes (“dispatches”) an object to the reducer provided as the first argument:
// ...

export const AppContext = createContext()
export const AppConsumer = AppContext.Consumer

const initialState = {
  friends: [],
}

const reducer = (state, action) => {
  switch (action.type) {
    case 'SET_FRIENDS':
      return { ...state, friends: action.payload }
    case 'ADD_FRIEND':
      return { ...state, friends: [...state.friends, action.payload] }
    case 'REMOVE_FRIEND':
      return { ...state, friends: state.friends.filter((friend) => friend.id !== action.payload) }
    case 'UPDATE_FRIEND':
      return {
        ...state,
        friends: state.friends.map(
          (friend) => (friend.id === action.payload.id ? action.payload : friend),
        ),
      }
    case 'REMOVE_EMPTY_FRIENDS':
      return { ...state, friends: state.friends.filter((friend) => !!friend.name.trim()) }
    case 'RESET':
      return initialState
    default:
      return state
  }
}

export const setFriends = (friends) => ({ type: 'SET_FRIENDS', payload: friends })
export const addFriend = (friend) => ({ type: 'ADD_FRIEND', payload: friend })
export const removeFriend = (friendId) => ({ type: 'REMOVE_FRIEND', payload: friendId })
export const updateFriend = (updatedFriend) => ({ type: 'UPDATE_FRIEND', payload: updatedFriend })
export const removeEmptyFriends = () => ({ type: 'REMOVE_EMPTY_FRIENDS' })
export const reset = () => ({ type: 'RESET' })

export function AppProvider({ children }) {
  const value = useReducer(reducer, initialState)

  return (
    <AppContext.Provider value={value}>
      {children}
    </AppContext.Provider>
  )
}
// ...As when using Redux, we define a reducer that accepts actions sent by the dispatcher function. Then, for convenience, we define simple action functions. Finally, we declare the AppProvider. This provider is then used to wrap our application so we can use the defined context inside any component.
It’s not visible here, but value is the array mentioned above. In this snippet, we pass it to the context provider (Context API reference).
useContext()
We could use the value passed by the AppContext.Provider using the AppContext.Consumer component. But, fortunately, the new API allows us to use Contexts in a more readable way.
export default function ListFriends() {
  const [{ friends }, dispatch] = useContext(AppContext)

  const emptyFriendCreator = () =>
    dispatch(addFriend({ id: uniqueId('friend_'), name: '', drawnFriendId: null }))
// ...Additionally, you can see that the value we passed through the provider consists of the current state and a dispatcher function
Summary
The new Hooks API may seem unintuitive and counter to what React offered so far. It requires some knowledge to understand the code, but once you figure it out, in my experience so far, it dramatically increases productivity and readability of your code.


