Zeplin – How to Handle the Handover Process Like a Pro

Once someone shows you the right way to do it, you will be a master. Therefore, I am happy to present you with the proper way of handling the handover. After reading this article you will know everything about Zeplin. Without any further ado, let’s get started!
Preparing for the export
Organise your document
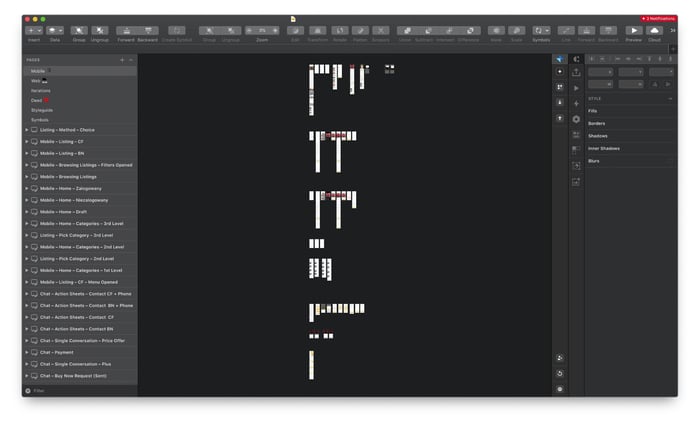
One of the most important things before proceeding to export is preparing the Sketch file. I am sure that most designers are familiar with good practices for working with Sketch. Most importantly, you should work with neatly organised symbols (and nested symbols), proper layer and text styles, and group screens by flow. All the work that you have put into the organisation of your file pays out now. If for some reason you weren’t able to build a proper file, make sure to at least have symbols that follow naming convention and artboards grouped by flows.
Mark as exportable
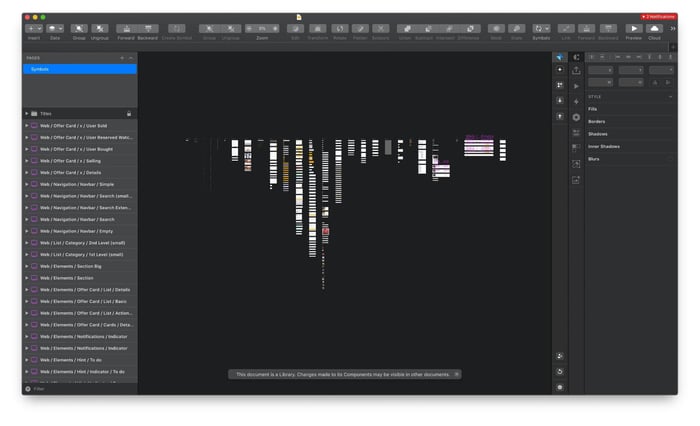
One of the most important things while preparing a file for export in Zeplin is marking elements as exportable. This applies only to icons and illustrations. The best way to handle it is simply going to the Symbols panel (or an external library) and marking artboards as exportable:
👉🏻 iOS: Mark icons as exportable (@2x) in PDF. This will allow developers to access the icon in the *.PDF and *.PNG (@1x, @2x, @3x) formats.
ℹ️ Notice
According to iOS developers, it is good to export icons in grayscale if exporting to PDF – they will be able to add colour using code. For colored illustrations, it’s better to export them as PNGs.
📚 Worth reading
Apple Human Interface — Custom Icons
👉🏻 Android: Mark icons as exportable (@1x) in SVG. Developers would be able to download the icons in *.SVG (optimized with SVGO) and *.PNG (mdpi, hdpi, xhdpi, xxhdpi, xxxhdpi)
⚠️ Warning
According to this Medium article, you have to change the fill settings of the SVG icons — please read the details there. TLDR: “Fills need to be set as non-zero (Sketch default is even-odd). Also, layers need to be correctly organised, otherwise it won’t export correctly layers with transparencies.”
📚 Worth reading
Medium — Exporting icons for Android
👉🏻 Web: Mark icons as exportable (@1x) in SVG. Icons will be available as *.SVG and *.PNG (@1x, @2x, @3x). For backgrounds and illustrations choose raster formats.
ℹ️ Notice
If possible, try to optimise SVG icons with this tool. It only applies when exporting icons separately (not via Zeplin).
Exporting screens to Zeplin
Create a project in Zeplin
After successful preparation of a Sketch file, you are ready to launch Zeplin 🎉. First things first, you need to click Create Project and then choose the right project type – you can go with Web, iOS, Android or MacOS. Choosing the right type of project is crucial, as Zeplin provides platform-based measuring units, correct export formats, and so on.
ℹ️ Notice
Make sure to choose the correct project type.
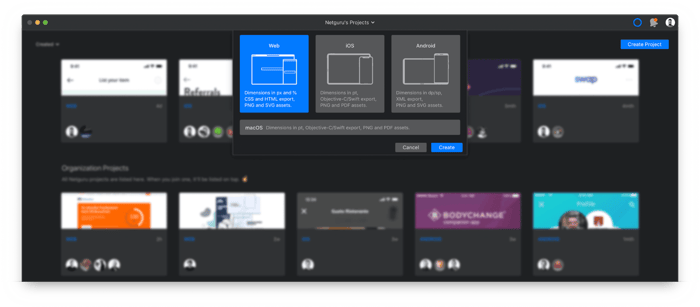
After creating the project, you can access its settings on the right-hand side. There you will be able to name the project, set the proper scale (you have to tell Zeplin whether the project was designed at a @1x or @2x scale), and invite members.
Inviting members
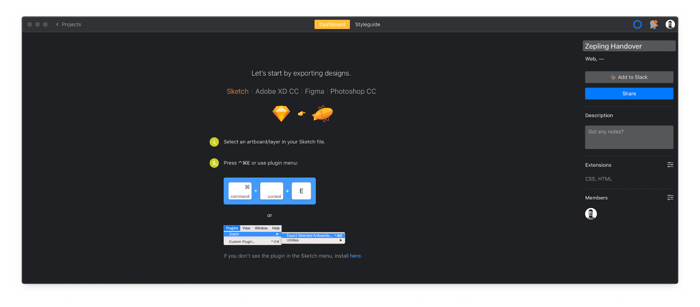
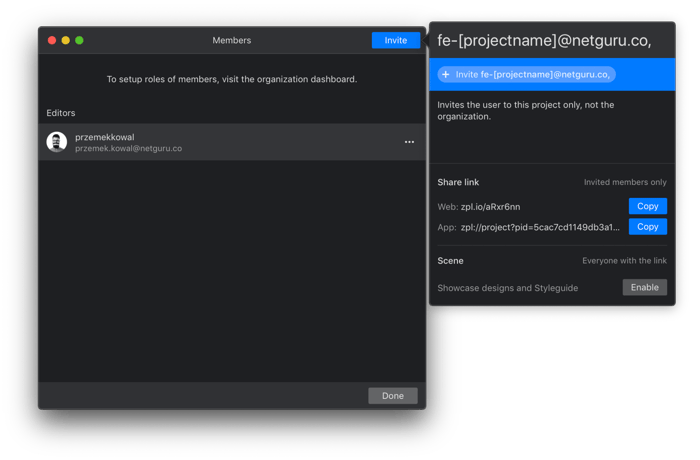
Once you have successfully created a project, it’s time to invite project members. Simply click the Settings icon on the sidebar visible on the right side. You will be presented with the screen shown below. Paste in the emails of the users you wish to add and then click Invite.
Exporting the screens and components
Before exporting, make sure that you have the Zeplin plugin installed. More information about the plugin can be found on Zeplin’s GitHub page.
⚠️ Warning
Some plugins that help you to maintain correct paddings (ex. Paddy, Anima) are not fully supported by Zeplin. Before proceeding to export, check if your plugin is supported.
Start the export with components (symbols):
Navigate to the Symbols page (or open an external library) and select the symbols you want to export. If your document is properly named and organised, you can export symbols by categories. Open the Sketch Symbol Organiser and run it with the desired options.
Let’s say 16px icons in your project have name Icons / 16 / Car. You should set the Symbol Organiser's Group Match to 2nd. You will be presented with neat rows of 16px icons in your project. Select the whole row and start the export.
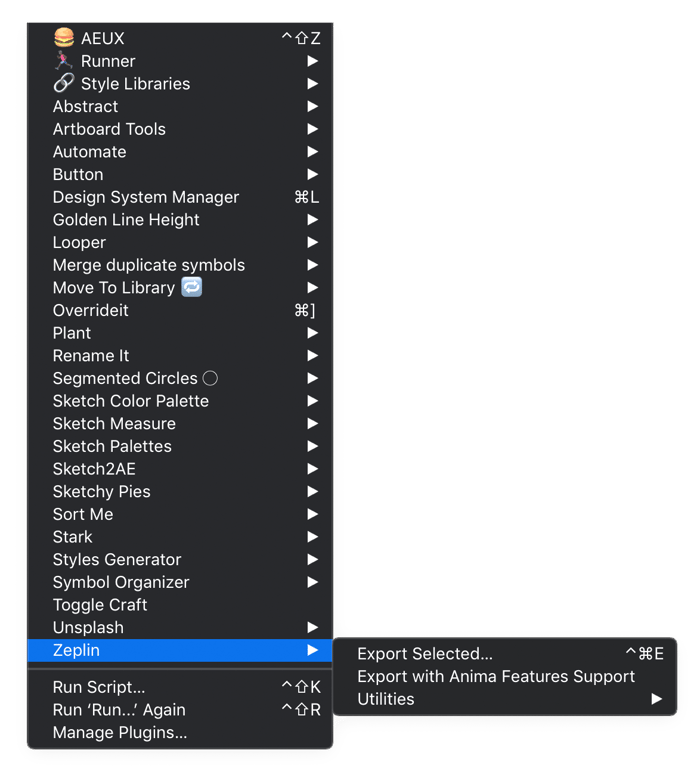
👉🏻 Anima: If your Sketch project is using the Anima plugin, make sure to choose the right export option: Plugins > Zeplin > Export with Anima Feature.
👉🏻 All other cases: Select Screens or Symbols and then navigate to Plugins > Zeplin > Export > Export Selected. You can also use the shortcut Control + Command + E.
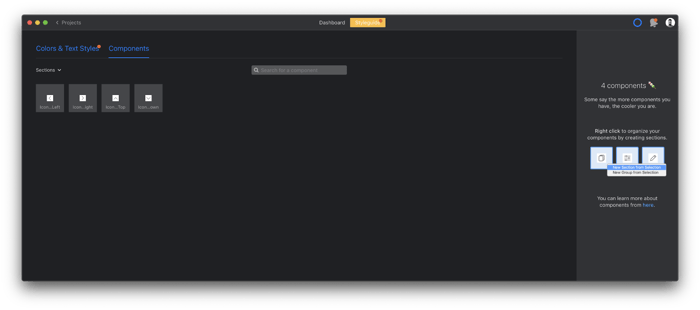
Your components should now appear in Zeplin:
Organise your Zeplin project
If you completed the previous step, you will be exporting screens or components by groups. I highly recommend this way since it’s much easier to maintain proper organisation in Zeplin project.
After exporting all elements from a group, simply select them and right click, then choose New Section from Selection.
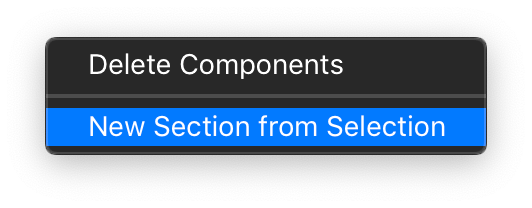
Name the selection accordingly to your Sketch document. In this example, for 16px icons you should name the selection Icons / 16.
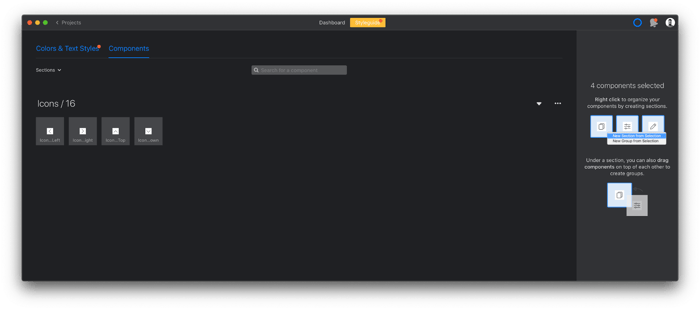
Final export example
After successful export of all screens and components, your final project should look somewhat like this.
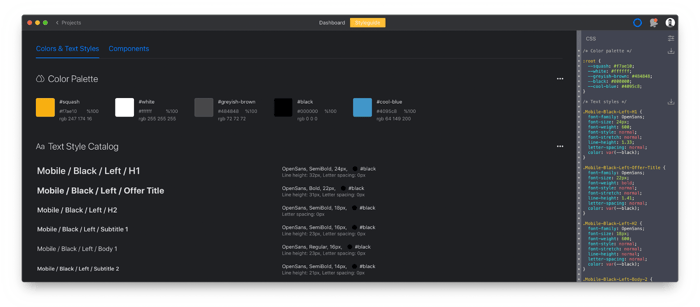
🎨 Colours & Text Styles
Should be organised into groups and follow the same naming convention as the Sketch file.
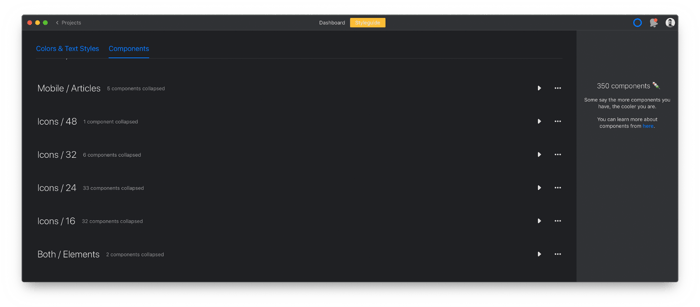
🗂 Components
Should be organised into groups and follow the same naming convention as the Sketch file.
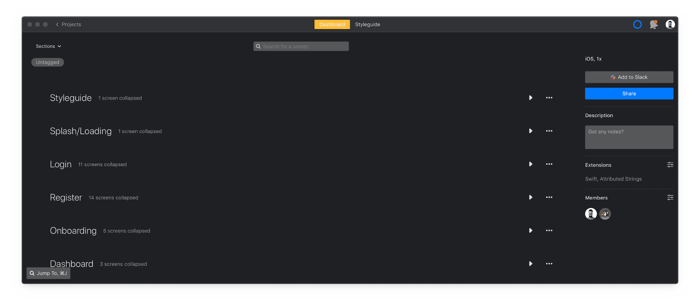
📱 Screens
Should be organised into flows with the correct screen order.
Experimental features
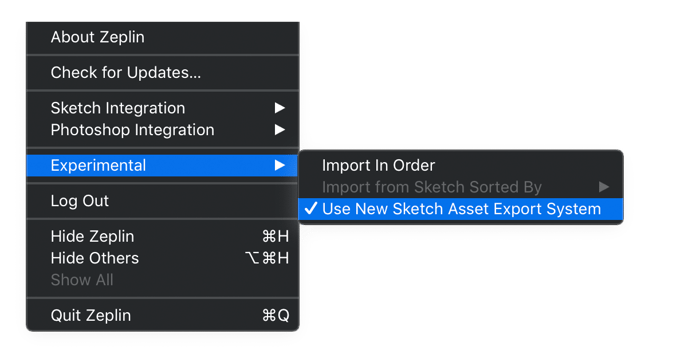
Use New Sketch Asset Export System
Tick this option if your project is using nested symbols and new overrides features added recently to Sketch.
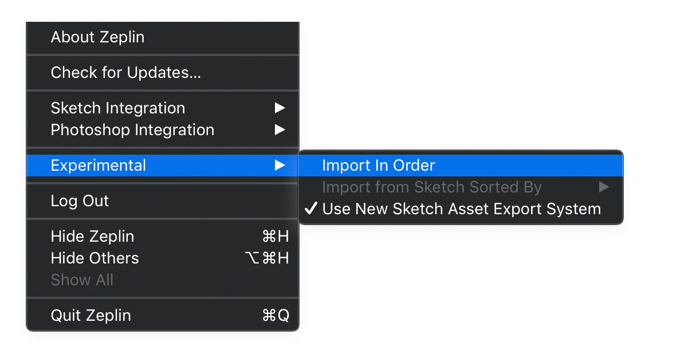
Import in Order
It was always problematic to arrange flows in tools like InVision or Zeplin. Usually they were imported randomly, or in reverse order. One of Zeplin’s experimental features is here to solve this problem. 💪🏻
⚠️ Warning
Be aware. These are Experimental features, therefore if you find any problems with your export turn them off.
Termination of the project
Archive the project
After successful implementation, please remember to archive the project to save some cash.


.jpg?width=362&height=190&name=10%20Tips%20for%20Stunning%20%20Dark%20Mode%20Design%20(1).jpg)