Embrace a Dynamic Web Journey with Ruby on Rails and Netguru
Whether venturing as an entrepreneur or steering the digital helm of a startup or established enterprise, the trajectory of your web-based product is pivotal to your strategic goals. The ideal web development ally not only navigates this journey with you but becomes a cornerstone of your digital aspirations. With Netguru, rest assured, the final product will resonate with your vision and echo with your audience's expectations.
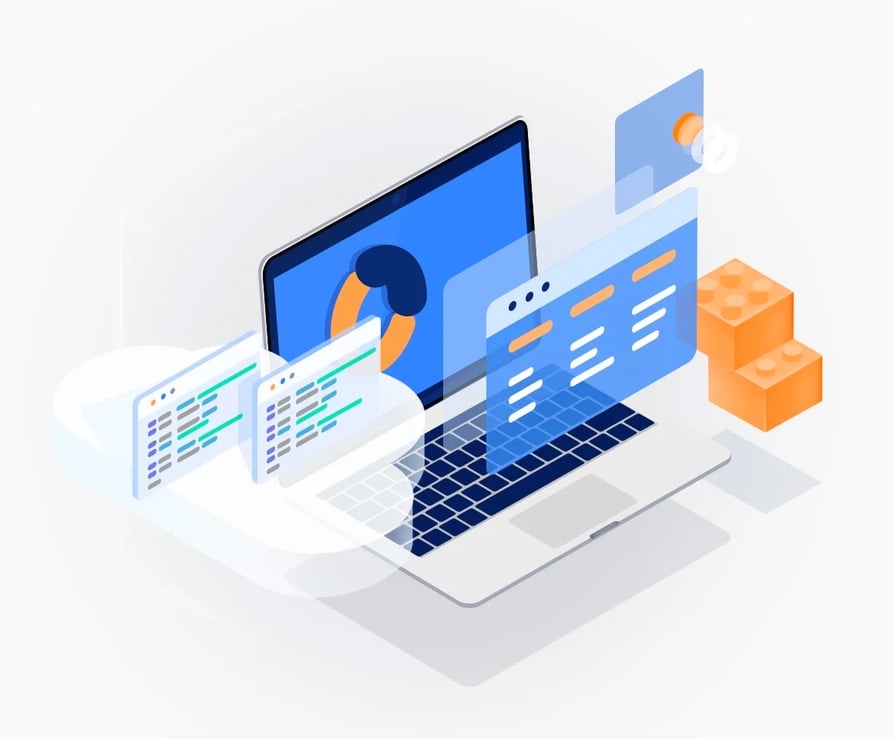
Netguru: RoR Development Company
Our ensemble of adept professionals is meticulously curated to resonate with your project's needs, each member a maestro in their realm.
- UI Designers: Crafting aesthetically appealing user interfaces that are a visual treat.
- UX Designers: Ensuring intuitive and engaging user experiences that retain user attention.
- Frontend Developers: Building responsive, flexible, and user-centric applications in harmony with design and backend teams.
- Backend Developers: Specializing in Ruby on Rails to ensure swift, scalable applications while optimizing infrastructure costs.
- DevOps Engineers: Bridging development and operations to ensure a smooth, continuous delivery.
- QA Specialists: Upholding the highest code quality and user experience standards.
- Project Managers: Steering the project seamlessly towards timely completion, aligning every phase with your business objectives.
Your Ideation, Our Innovation:
Whether it's the genesis of a web-based product or the re-imagination of an existing one, we're here to morph your ideas into digital realities with Ruby on Rails (RoR).
- Ideation: A collaborative endeavor from project inception, market research, pain point identification to molding a product concept that addresses market exigencies.
- Wireframing & Prototyping: Mapping the user journey, visualizing the end product, and validating the concept through prototyping.
- UI & UX Design: Transforming sketches into an intuitive, consistent user interface providing an exemplary user experience.
- Development: Utilizing RoR for swift front-end and back-end development, with a continuous testing ethos to ensure a robust, high-performance application.
- Launch & Maintenance: Assisting in a triumphant market launch and offering steadfast support and maintenance to navigate through digital ebbs and flows.
Ruby on Rails, with its rapid development, cost-effectiveness, and strong community support, acts as the catalyst in this collaborative voyage, ensuring a seamless transition from a nascent idea to a mature web-based solution ready to captivate the market.
Embark on a transformative digital expedition with Netguru's Ruby on Rails expertise. Let's sculpt your web application aspirations into tangible, market-ready products. Your journey towards digital eminence begins here.